
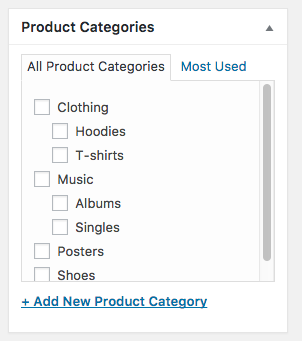
Product categories
Product categories are the primary way to group products with similar features. You can also add subcategories if desired.
For example, if you sell clothing, you might have “t-shirts”, “hoodies” and “pants” as categories.
How to add/edit product categories
Categories are managed from the Products > Categories screen.
Similar to categories on your posts in WordPress, you can add, delete, and edit product categories.
- Add a Name.
- Add a Slug (optional); this is the URL-friendly version of the name.
- Choose a Parent if this is a subcategory.
- Enter a Description (optional); some themes display this.
- Choose the Display type. Decide what is shown on the category’s landing page. “Standard” uses your theme’s default. “Subcategories” will display only the subcategories. “Products” only displays products. “Both” will display subcategories and products below that.
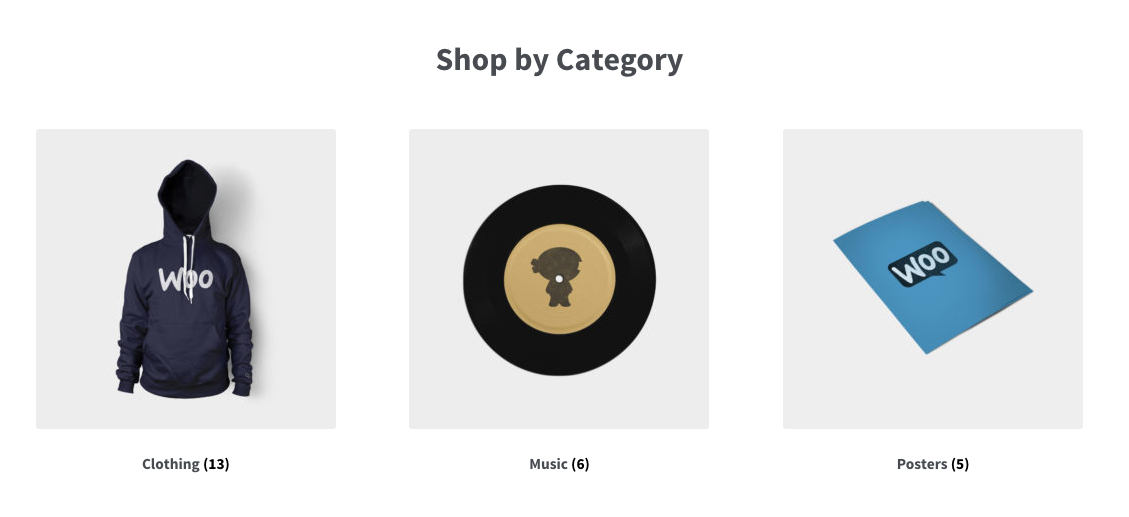
- Upload/Add Image (optional); Some themes have pages where product category images are displayed, so this is a good idea.
Storefront by default displays product category images on the homepage template.
Categories can also be reordered by dragging and dropping – this order is used by default on the front end whenever the categories are listed. This includes both widgets and the category/subcategory views on product pages.
Since WooCommerce 3.3, there will be a default category. Every product must be assigned to a category, so the default category will be automatically assigned if the product is not assigned to any other category. By default, this category will be named “Uncategorized” and can not be deleted. However, you can rename the category. You can also switch the default category using the row actions underneath the category name, then the “Uncategorized” category can be deleted as it is no longer the default.

When you add a new product via Products > Add Product, you can select this new product category from the list.
Alternatively, you can go to Products > Add Product directly, and select Add New Product Category.
The taxonomy is product_cat. And the filtering feature becomes AJAX-enabled for friendlier use once there are 100 categories.
Product tags
What are product tags?
Product tags are another way to relate products to each other, next to product categories. Contrary to categories, there is no hierarchy in tags; so there are no “subtags.”
For example, if you sell clothing, and you have a lot of cat prints, you could make a tag for “cat.” Then add that tag to the menu or sidebar so cat lovers can easily find all t-shirts, hoodies, and pants with cat prints.
How to add/edit product tags
Tags can be added similarly to adding product categories and work in exactly the same way as post tags. See the WordPress.org Codex for more information.
The taxonomy is product_tag.
Product attributes
What are product attributes?
A third and important way to group products is to use attributes. There are two uses of this data type that are relevant for WooCommerce:
- First is via WooCommerce widgets. “Filter Products by Attribute” allows you to select a specific attribute. If you add this widget to your sidebar, customers can filter products in your store based on the attribute.
- Second is via variable products. To create a variable product, an attribute must first be defined for the product. These attributes can then be used to make a distinction between different variations. More info at: Variable Products.
For example, if you’re selling clothing, two logical attributes are “color” and “size”, so people can search across categories for a color that fits their style and type and clothing available in their size.
How to add/edit product attributes
Set global attributes
Go to Products > Attributes to add, edit, and remove attributes.
Here you can quickly and easily add attributes and their terms.
- Add a Name.
- Add a Slug; (optional); this is the URL-friendly version of the name.
- Enable Archives if desired. If enabled, you can view a page with all products having this attribute. For example, if you have this enabled, and “black” is one of the options under “color”, you can add
http://yourstore.com/pa_color/black/to your menu to only display black clothing –pastands for “product attribute.” - Select a Default sort order. Choose between “Name”, “Name (numeric)”, “Term ID” or “Custom ordering” where you decide by dragging and dropping the terms in the list when configuring the terms (see below). “Name (numeric)” is relevant if the values are numbers. If you select “Name”, it sorts alphabetically with 1 and 10 preceding 2. If you select “Name (numeric)” it sorts based on numerical value.
Select Add Attribute.
The attribute is added in the table on the right, but without values.
Select the “Configure terms” text to add attribute values.

Next Add New “Attribute name”, where “Attribute name” automatically takes the name you gave the attribute in the previous step.
Add as many values as you wish. If you selected “Custom ordering” for the attribute, reordering your values can be done here.
Add global attributes to product
Add the created attributes to your products.
- Go to: Products > Add Product (or edit an existing one).
- Select the Attributes tab in the Product Data. There you can choose any of the attributes that you’ve created in the dropdown menu.
- Select Add.
If you selected a global attribute that you previously created, you can select terms that you added previously.
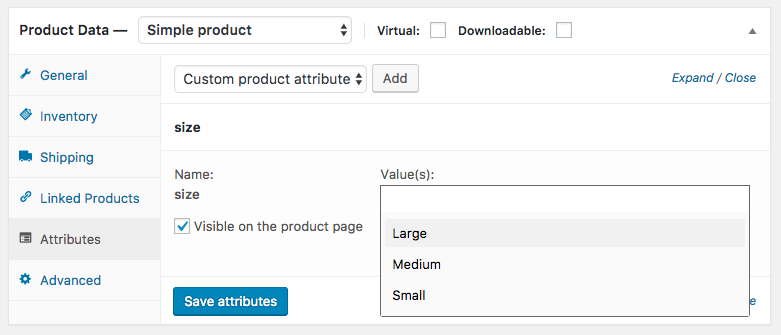
Add custom attributes
Alternatively, add an attribute you only want to use for one product. This would only be ideal if you have a product with unique variations.
- Go to: Product > Add Product.
- Select the Attributes tab.
- Select Custom product attribute in the dropdown and follow the above steps.